Last week I wrote that I would have another look at Windows Server Core. This is the second part where I will install and configure Windows Server Core.
Installing is pretty easy. It just looks like a normal Windows Server installation. There is just one difference. In the fourth screen (see below) of the setup you choose for ‘Server Core Installation’ and not for ‘Server with a GUI’. Actually you don’t have to make a choice in the Windows Server 2012 setup because a Server Core installation is the default option now.
I assume that you know how to install Windows. So I will not talk about the rest of the installation. It is pretty much Next, Next and Next on the other screens.
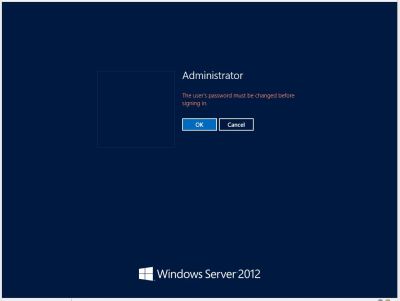
When the installation is finished you are welcomed by this screen.
Just press OK and type a new password on the next screen. When you have done that you will be logged in on you new Windows Server Core installation. And that looks fabulous! Uhmmm, not really! The only thing you will see is a command prompt. Just like the good old days when Windows did not exist.
So now what?? To start some basic configuration tasks you type sconfig.cmd at the command prompt. It provides you with an easy way for changing the server name, add it to a domain, change IP settings and more.
With option 1 you can add the server to a domain or to a workgroup. When you choose option 2 you can change the name of the server. When you look at the options it is very clear what the options do. You can start at the top and then go the next option and the next. When you start configuring with sconfig you will see screens that look a lot like part of a GUI. For example when you change the date and time.
I prefer to start with option 8, Network Settings. Just to make sure that server received a valid IP number from the DHCP server. You can also set a fixed IP number if you want. After that I just follow the list.
As you can see, installing and configuring Windows Server Core is pretty easy. The fun will start after this. The server will not do much in its current state. It has no role(s) configured. I will show that in an other part. But not the next part. The next part will be about configuring Server Core with PowerShell.


